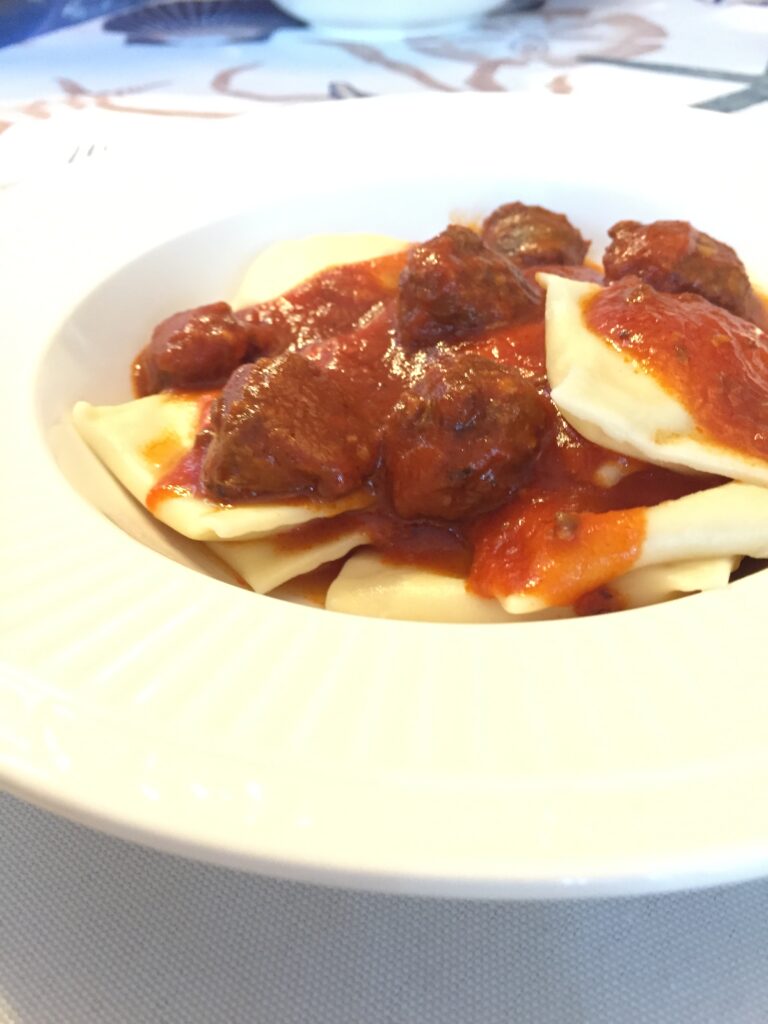
About this dish
- Serves: 4-6
- Time: 60 minutes
- Method: stove top
We traditionally make these only with a cheese filling, though there are lots of options.
Ingredients
- pasta dough you’ll need a 4-egg batch at least (more likely 6), and make sure the dough is still a little more wet than dry (and rests at least 15 minutes after mixing)
- pasta sauce whatever you like; you can also just put browned butter or warmed checchia (diced tomatoes) on top
- extra flour (2-3 C) for dusting the counter and trays to prevent sticking
And the filling:
- 1 lb ricotta full-fat or ‘lite’ is OK
- 1/2 lb mozarella shredded. ‘full-fat’ preferred
- 1 C grating cheese – we use pecorino romano (Locatelli is the brand we used growing up), but parmesan or romano is fine
- 2 eggs
- 3 T parsley flakes or fresh parsley, chopped up
- salt and pepper
Mom’s filling:
- 2 lbs ricotta
- 3 eggs
- grating cheese
- parsley
- salt and pepper
Equipment
- pasta making equipment
- pastry cutter/crimper
- like a very small pizza cutter wheel with extra ridge bits on the sides that cuts and crimps in one step – HIGHLY recommended; make things go super fast
- a fork will work instead, actually a couple of forks and a couple of very meticulous friends
- DO NOT USE – ravioli ‘stamps’ or ‘trays’, or automatic machines that roll, fill, close and cut. they have never worked.
Instructions
Mix the filling together well and put inside a piping bag (or a large, heavy-duty baggie with a corner snipped off).
Roll the pasta into sheets around 5-6″ wide – if using a crank roller (electric or hand), use the “5” setting (i.e., 1-2 clicks thicker than the thinnest setting).
Lay the sheet on a flour-dusted surface. Pipe dollops of filling (about 1/2T) about 3″ apart, below-center as follows. Make sure the dollops are at least 3/4″ from the bottom edge:
+--------------------------------------------------------+
|                                                        |
|                                                        |
|                                                        |
|                                                        |
|  XX   XX   XX   XX   XX   XX   XX   XX   XX   XX   XX  |
|                                                        |
+--------------------------------------------------------+
At this point, you MAY wet your finger and lightly wet the pasta where the * indicates (you should NOT have to, but might if the pasta is dry):
+--------------------------------------------------------+
|                                                        |
|                                                        |
|                                                        |
|********************************************************|
|* XX * XX * XX * XX * XX * XX * XX * XX * XX * XX * XX *|
|********************************************************|
+--------------------------------------------------------+
Fold it over, and you’ll have a top folded edge (===) and little dimples “(XX)”:
+========================================================+
| (XX) (XX) (XX) (XX) (XX) (XX) (XX) (XX) (XX) (XX) (XX) |
|                                                        |
+--------------------------------------------------------+
Push the pasta down lightly with your fingers, going between the dimples and across
the bottom (see below – where the # marks are). Try to push the air out of the
dimples – air will make the pasta pop open when you cook it.
+========================================================+
|#(XX)#(XX)#(XX)#(XX)#(XX)#(XX)#(XX)#(XX)#(XX)#(XX)#(XX)#|
|########################################################|
+--------------------------------------------------------+
Cut the squares apart where you pushed down (along the # marks) – if you have a crimper/cutter, that’s one step. If not, you will need to finish by crimping
the edges with a fork. Do NOT press too hard – you want to seal the pasta, not tear it.
Place on a cookie sheet amply dusted with flour. Do not overlap.
At this point you can:
- cook them, in lots of boiling salted water. cook for a few minutes
after they float. check for doneness by testing the edge (eat one!)
where the pasta is thickest - freeze them on the sheet. once frozen, you can remove them from
the sheet and place in baggies. they will freeze 3-6 months easily.
DO NOT DEFROST before cooking; just dump them frozen (carefully) into boiling salted water.